So we've studied faces in our sketchbooks over the last couple of weeks, practicing the basics and getting the proportions more correct with each try, yet there are still so many things that can affect the way a portrait is drawn. What if the head is turned or tilted? Or what if there is light hitting only one side of the face? Then there's the issue of children's faces. How exactly do the proportions work for those?!
I wanted my students to successfully draw a portrait, using what they had learned about drawing faces, but since they're still only 6th, 7th, and 8th graders, I didn't want them to struggle too much with where things go and get so frustrated that they just give up. Faces are difficult! So we used the grid method to help them get things in the correct places.
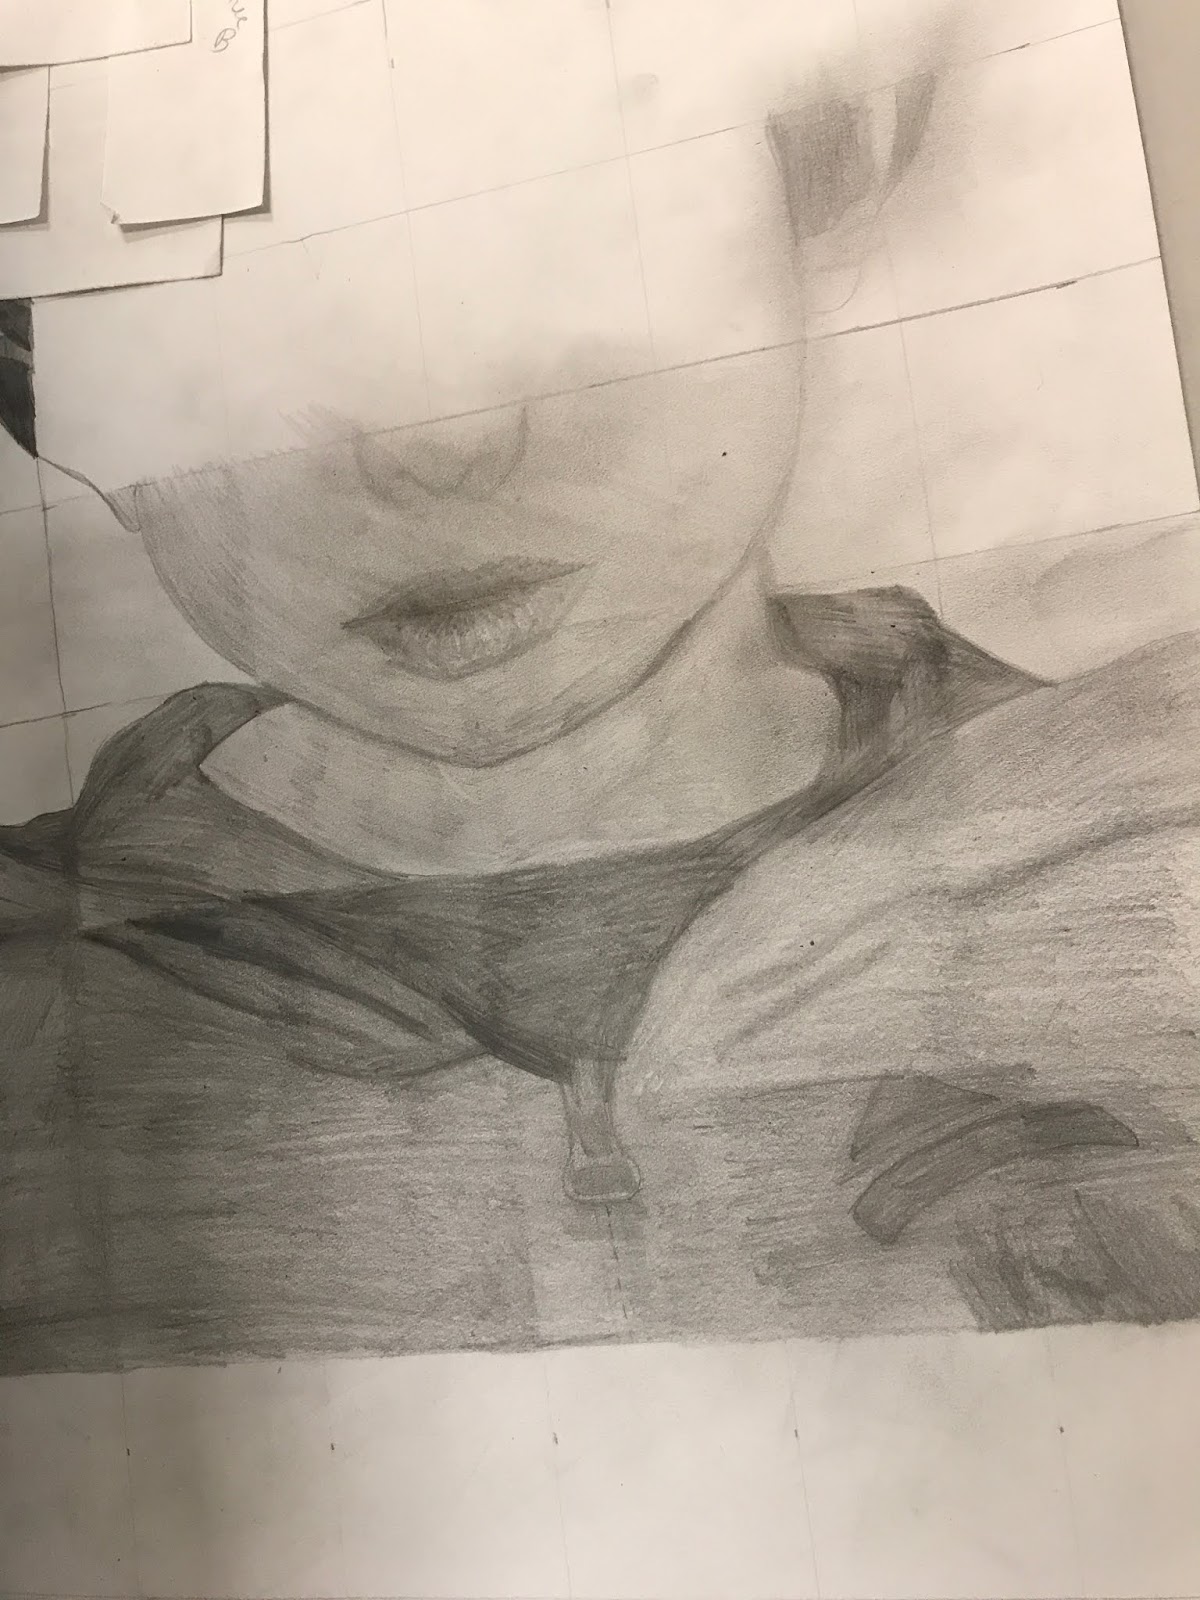
We began by drawing a grid of squares on our paper and on the images we wanted to draw. We labeled the top row of blocks with letters, and the first column of blocks with numbers, and did the same to our image. Then students transferred the values (light and dark areas) and lines in each block to the same block on their drawing paper. Sometimes it would be as simple as just an area of even shading.
The grid method is great for enlarging portraits, or even distorting them! It helps students feel successful because they can plot exactly which boxes the eyes will go in and have them pretty close to accurate on the first try. We also created view finders to cover the other blocks of the photo so they could focus only on one block at a time.
If you're interested in learning more about the grid method, there are some really good tutorials online that will show in detail how to create a drawing using this method.
These are a few "in progress" portraits. The square of paper on the bottom right is the view-finder used to cover the image this student was working from. They worked square by square to create the drawing, so it's not as overwhelming as just sitting down to draw a face. That comes later with more experience and practice! :)
I am very blessed with some super talented students this year. They completely amaze me and I'm so fortunate to have the opportunity to help guide them along!
Have a great weekend!!